Introduction
Mosquitoes can be a nuisance, especially during the warmer months when we want to enjoy the outdoors. Instead of relying on chemical repellents, why not create your own mosquito pest repeller circuit? This DIY project is not only cost-effective but also a fun way to delve into the world of electronics. In this post, we’ll guide you through the process of building a simple mosquito repeller circuit.
What You’ll Need
- Components:
- 555 Timer IC
- Resistors: 1kΩ, 10kΩ
- Capacitor: 10µF
- Transistor: NPN (e.g., 2N3904)
- Piezo buzzer or small speaker
- 9V battery
- Breadboard or PCB
- Connecting wires

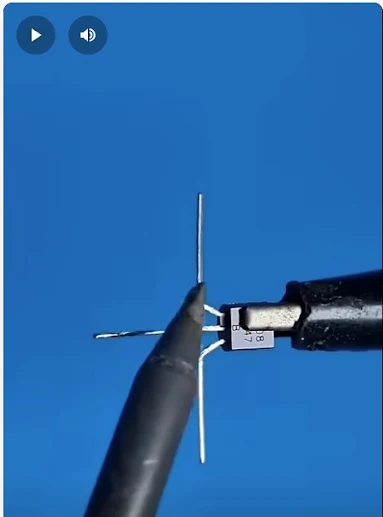
Explanation of the Circuit
555 Timer Configuration: The 555 timer is configured in astable mode to generate a square wave signal, which is crucial for producing high-frequency sounds that repel mosquitoes.
Resistor and Capacitor Values:
- R1 (10kΩ) and R2 (1kΩ) control the frequency of the output wave.
- C1 (10µF) helps in determining the timing cycle for the 555 timer.
Output: The output from pin 3 of the 555 timer is connected to a piezo buzzer or small speaker. This will emit a sound that is generally unpleasant for mosquitoes but inaudible to humans.
Step-by-Step Instructions
Assemble the Circuit:
- Start by placing the 555 timer IC on the breadboard.
- Connect the resistors and capacitor according to the circuit diagram.
- Connect the transistor to amplify the output if required.
- Finally, connect the piezo buzzer to the output of the timer.
Power Up:
- Connect the 9V battery to the circuit. Ensure the connections are correct to avoid damaging the components.
Test the Circuit:
- Once powered, you should hear a high-pitched sound from the piezo buzzer. Adjust the resistors to change the frequency if necessary.
Enclosure:
- For better usability, consider placing the circuit in a small enclosure. This will protect the components and make it easier to use in different locations.
Tips for Better Performance
- Frequency Range: Mosquitoes are sensitive to certain frequencies. You can experiment with different resistor and capacitor values to find the frequency that works best in your area.
- Placement: Position the repeller in areas where mosquitoes are likely to enter, such as doorways and windows.
Conclusion
Creating your own mosquito pest repeller circuit is a simple yet effective project that can help keep these pesky insects at bay. With just a few components and a little bit of time, you can enjoy a mosquito-free environment without relying on chemicals. Happy tinkering!
Further Reading
If you’re interested in more electronic projects or DIY ideas, check out our other blog posts on electronics and circuit design. Don't forget to share your experiences with this project in the comments below!
Comments
Post a Comment